 how-to
DIY Sewing Projects: Tips for Success Every Time
Last Updated: October 23, 2026
Quick Summary
Successful diy sewing projects start with beginner-friendly patterns that use straight seams and stable cotton fabric, plus a correctly set-up machine with a fresh needle and matched thread. Slow your machine, watch the seam guide, press seams as you sew, and finish raw edges so your project survives the wash.
- Pick patterns with three or fewer pieces, straight seams, and no zippers or buttonholes.
- Set stitch length to about 2.5 mm for straight seams and test on a scrap first.
- Change the needle every 8 to 10 hours of sewing or sooner if stitches skip.
- Adjust upper tension one number at a time and test on a scrap after each change.
- Backstitch at the start and end of every seam, then press each seam flat as you sew.
Table of Contents
- Start with Beginner Sewing Projects That Match Your Skill Level
- Set Up the Right Sewing Tools and Supplies for Beginners
- Measure, Cut, and Prepare Fabric for Accurate Results
- Sewing Tips and Tricks for Straight Lines and Even Seam Allowance
- Troubleshoot Common Machine and Stitching Problems
- How to Finish a Sewing Project with Clean, Durable Results
- Plan Your DIY Sewing Projects with a Simple Checklist
- Frequently Asked Questions
Start with Beginner Sewing Projects That Match Your Skill Level
The fastest way to quit sewing is to start with a project that's too hard. At Teecraftsmarket, we've watched too many beginners buy a complicated dress pattern, get stuck on the first seam, and never touch their machine again.
Beginner sewing projects are small, simple builds that use straight seams and basic tools, like tote bags, pillowcases, and simple skirts. They teach core skills without overwhelming you.
Pick a forgiving pattern and fabric
A forgiving pattern hides small mistakes. Look for:
- Few pattern pieces (three or fewer)
- Straight seams, not curves
- No zippers or buttonholes
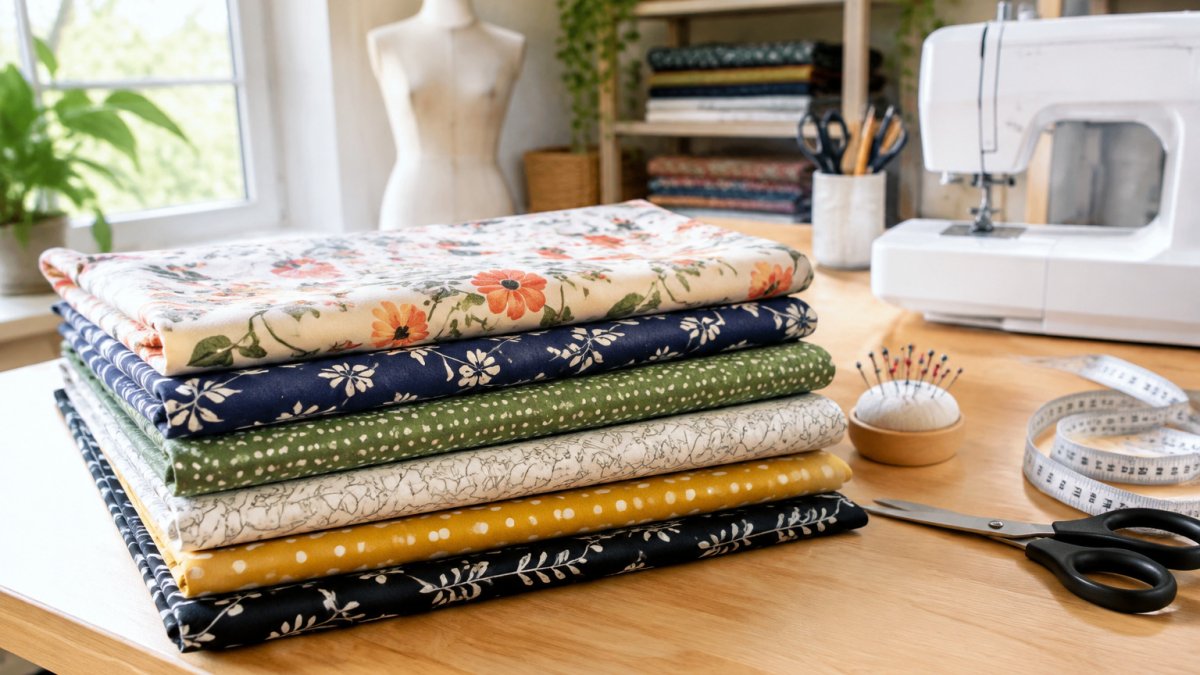
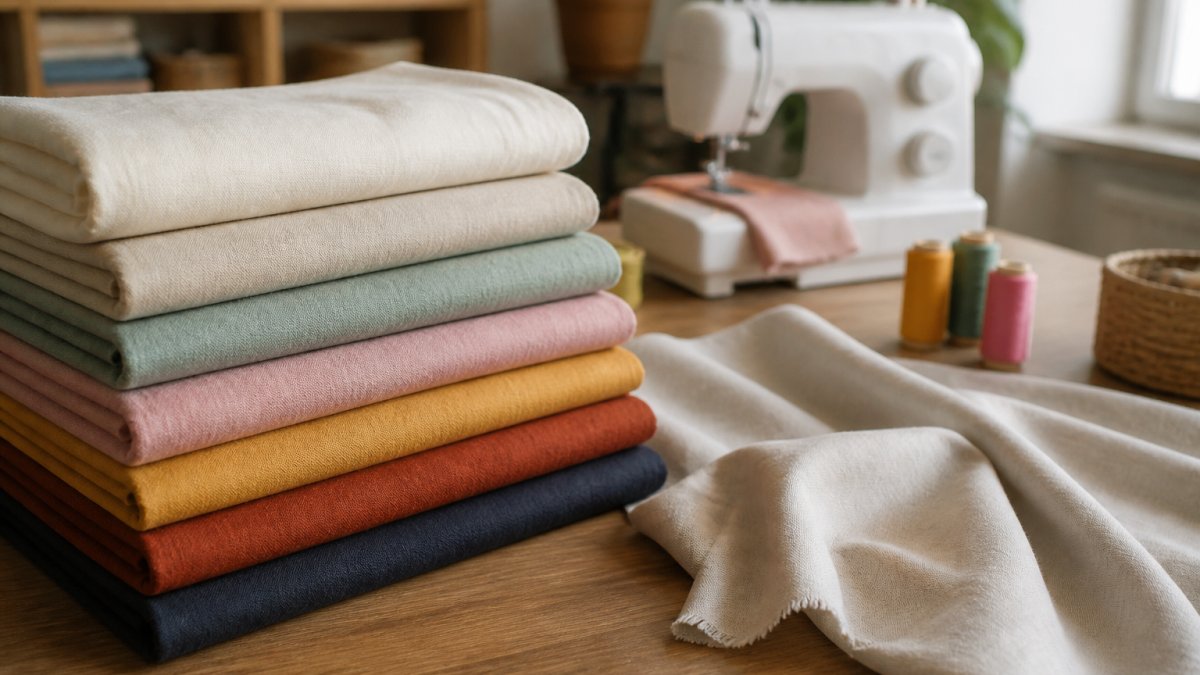
Fabric matters just as much. Cotton or cotton-blend is stable and easy to control. Avoid slippery silks and stretchy knits as a beginner, they slide and stretch under the needle, and your seam allowance wanders.
Quick projects to build confidence
Small, quick projects teach skills fast and give you a finished item to show for it. Try these in order:
- Pillowcase - straight seams, one hour, instant win
- Tote bag - teaches handles and boxed corners
- Simple skirt - elastic waist, no zipper
- Drawstring bag - bias binding practice on a small scale
- Pillow cover with an envelope back - no buttons, no zipper
Each project adds one new skill. That's how confidence builds.
Set Up the Right Sewing Tools and Supplies for Beginners
You don't need a room full of gear, just a short list of sewing tools and supplies for beginners that actually get used, plus a machine set up correctly before the first seam.
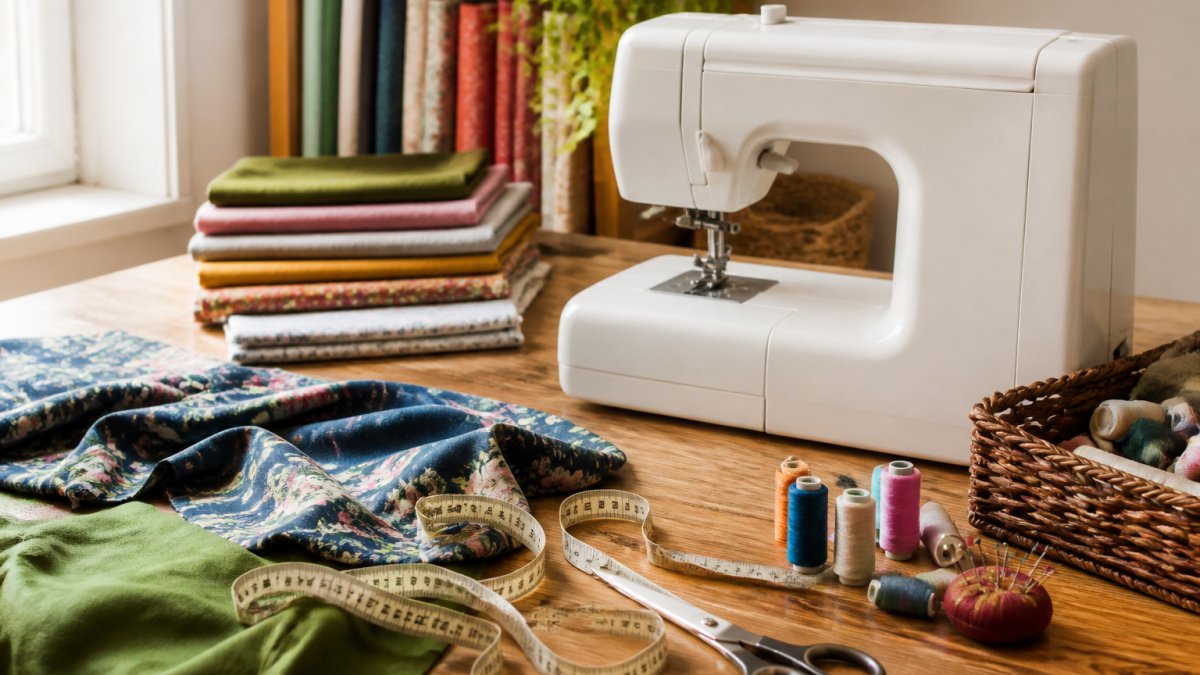
Essential beginner sewing tools: a working sewing machine, sharp fabric scissors, pins, a seam ripper, a measuring tape, a marking tool, and a few spools of all-purpose thread.
Machine setup and essential notions
Set up your machine before your first project, not during it:
- Read the manual and identify the tension dial, stitch selector, and reverse lever
- Wind a bobbin and load it correctly
- Thread the machine with the presser foot up
A reliable machine makes this easier. Our Brother 17-Stitch Free Arm Sewing Machine has a jam-resistant drop-in bobbin and a brightly lit work area. For step-by-step guidance, Sewing Machines Made Simple walks through machine anatomy, needle changes, and beginner projects.

If you're brand new to the machine itself, the sewing machine basics guide from Consumer Reports covers what to look for before you buy.
Match the needle and thread to the fabric
Most "my machine won't sew" problems start with the wrong needle or thread. The fabric dictates the size:
- Lightweight fabrics (cotton voile, lining): size 60/8 or 70/10 needle, 60- or 70-weight thread
- Medium fabrics (quilting cotton, linen, cotton blends): size 80/12 needle, 50-weight all-purpose thread
- Heavy fabrics (denim, canvas, upholstery): size 90/14 or 100/16 needle, 40-weight or heavier thread
Use all-purpose polyester thread for most beginner projects. Match the thread weight to the needle, a heavy thread in a small needle causes skipped stitches and shredding. Change the needle every 8 to 10 hours of sewing, or sooner if you hear a thumping sound or see skipped stitches.
Understand tension before you touch the dial
Upper tension and bobbin tension work together. On most machines the factory bobbin setting is correct, so adjust the upper dial first. Loops underneath mean the upper tension is too loose; puckering on top means it's too tight. Turn the dial one number at a time and test on a scrap after each change, never more than two numbers without testing.
Basic maintenance that prevents most breakdowns
- Brush out lint under the needle plate and around the bobbin case after every project. Lint is the top cause of skipped stitches and jammed bobbins.
- Oil the machine only where the manual says to, and only with sewing machine oil, not household oil.
- Keep the machine covered when not in use to keep dust out of the tension discs.
Measure, Cut, and Prepare Fabric for Accurate Results
Accurate measurements and clean cuts decide whether your project fits. Measure twice, mark clearly, and cut once with sharp scissors. Most beginner mistakes start at the cutting table, not the machine.
Fabric prep steps that save you grief:
- Pre-wash and dry your fabric to shrink it before cutting
- Press out wrinkles with an iron
- Lay fabric flat and check the grain line
- Pin your pattern pieces and check the layout twice
- Cut with long, smooth scissor strokes, never lift the fabric
For garment sewing, body measurements matter. The size chart guidance from the Craft Yarn Council shows how to take consistent measurements, and our Beginner's Guide to Dress & Skirt Making includes over 120 images on measuring, cutting, and sewing garments.
Sewing Machines Made Simple: The Beginner's Guide to Getting Started - Hardcover →

Sewing Tips and Tricks for Straight Lines and Even Seam Allowance
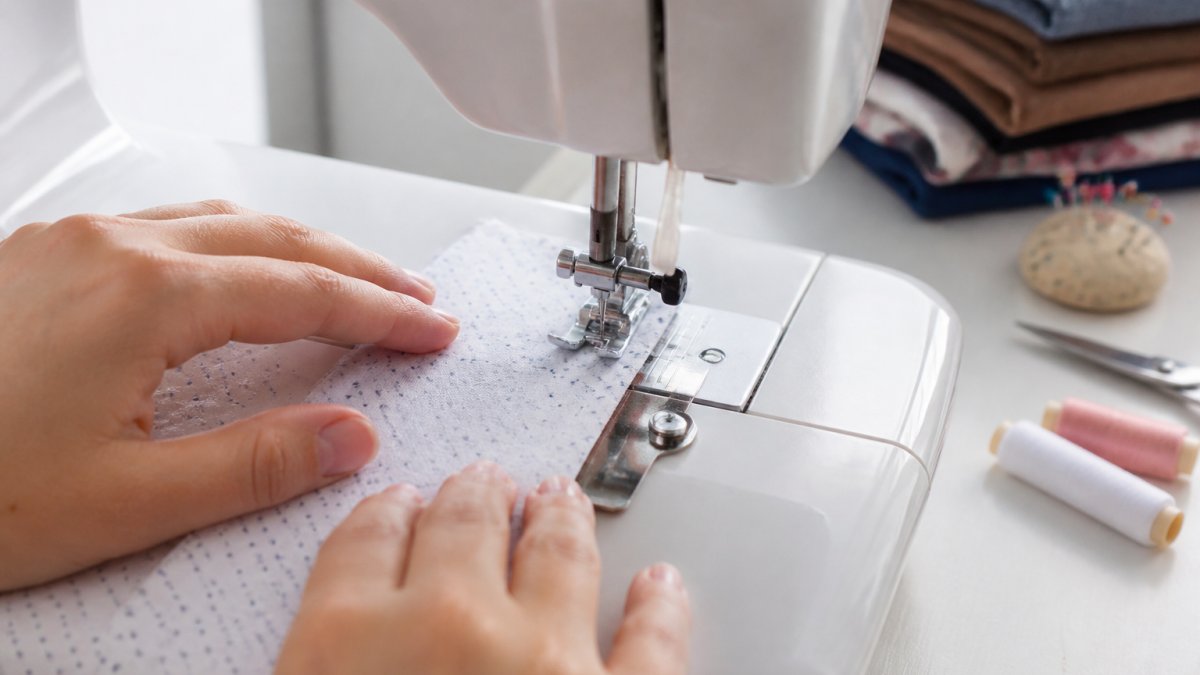
Straight stitching comes from control, not speed. Slow your machine down, watch the seam guide, and let the feed dogs pull the fabric. Speed is the number one cause of wobbly seams.
Control fabric and keep stitches consistent
A few sewing tips and tricks fix most wavy seams:
- Don't pull the fabric. Guide it lightly; the machine feeds it.
- Watch the seam guide, not the needle. Keep the fabric edge on the guide line.
- Use a leader scrap. Start stitching on a scrap so the first stitches are even.
Consistent seam allowance comes from a fixed reference point. Pick your guide line and never move it mid-project.
Troubleshoot Common Machine and Stitching Problems
Most stitching problems have simple fixes. Check the needle, thread, and tension first, and you'll solve the majority without a repair shop.
| Problem | Likely Cause | Fix |
|---|---|---|
| Skipped stitches | Dull or wrong needle | Replace needle, match type to fabric |
| Loops underneath | Bobbin threaded wrong | Re-thread bobbin and check tension |
| Tangled thread nest | Machine threaded with foot down | Re-thread with presser foot up |
| Broken thread | Tension too tight | Loosen upper tension slightly |
| Puckered seam | Tension or needle too heavy | Test on scrap, adjust tension |
| Fabric not moving | Feed dogs down | Raise feed dogs |
Work through the table top to bottom. Nine times out of ten, a fresh needle and a re-thread solve it.
How to Finish a Sewing Project with Clean, Durable Results
A clean finish is what separates homemade from handmade. Press every seam as you go, trim loose thread tails, and secure your stitches at both ends. Finishing is also where beginners make the most invisible mistakes: skipped seam finishes, unpressed seams, and hems that pucker after the first wash.
How to finish a sewing project the right way:
- Backstitch at the start and end of every seam
- Trim thread tails close to the fabric
- Press seams flat with an iron as you sew
Choose the right seam finish for the fabric
A seam finish keeps raw edges from fraying. The right choice depends on the fabric and how the item will be washed:
- Zigzag stitch: works on almost any woven fabric and needs no special foot. Set stitch width to about 4 mm and length to about 2 mm, then stitch close to the raw edge. Good for cotton, linen, and blends.
- Pinking shears: fastest option for tightly woven fabrics that fray little, like felt or some cottons. Not durable enough for items that get heavy washing.
- French seams: enclose the raw edge inside a second seam. Best for lightweight fabrics and sheer garments where you don't want to see a finish. Takes two passes, so plan for extra time.
Match the finish to the wash routine. An item that will be washed weekly needs a stronger finish than a decorative pillow.
Press as you sew, not at the end
Pressing is not ironing. Ironing slides the iron back and forth; pressing sets it down, holds, and lifts. Press each seam flat as soon as it's sewn, before crossing another seam. Use a pressing cloth on delicate fabrics and a seam roll for curves. A seam that isn't pressed will never lie flat, no matter how well it was stitched.
Check the finished item before you call it done
Run this quick inspection before you trim the last thread:
- Tug test: gently pull each seam perpendicular to the stitch line. If stitches pop or the seam gapes, reinforce with a second row of stitching.
- Check the seam allowance: it should be consistent along the seam. If it wandered, note where and adjust your guide for next time.
- Look for puckers: puckered seams usually mean tension was too tight or the needle was too heavy for the fabric.
Bias binding gives a professional edge on bags and quilts. For quilting finishes, Heirloom Machine Quilting covers hand-quilting effects on a home machine.

Plan Your DIY Sewing Projects with a Simple Checklist
Planning beats motivation. Block time, pick one project, and gather everything before you sit down. A short checklist keeps DIY sewing projects moving from start to finish.
Use this project-planning checklist:
- Choose one project at your skill level
- Read the pattern fully before cutting
- Buy fabric, thread, and notions in one trip
Time blocking helps. Set a timer for 25 minutes and sew one step, then take a short break. The Pomodoro Technique keeps you focused and stops you rushing. If a project stalls, the American Sewing Guild's community resources connect you with local sewers for help.
Frequently Asked Questions
How do I choose a sewing project that matches my skill level?
Start with beginner sewing projects that use straight seams and few pattern pieces, like a tote bag or pillowcase. Check the pattern envelope for a skill label and read through the instructions before buying fabric. If a pattern calls for zippers, bias binding, or fitting adjustments, save it until you have practiced those techniques. A simple pattern in a forgiving fabric lets you focus on consistent seam allowance and straight stitching instead of fighting the material.
What sewing tools and supplies do I need for a successful DIY sewing project?
You need a working sewing machine, fresh needles, quality thread, fabric shears, pins or clips, a seam ripper, a measuring tape, and a marking tool. Add a seam gauge for consistent seam allowance and a small iron for pressing as you go. A reference like Sewing Machines Made Simple: The Beginner's Guide to Getting Started ($25.99) helps you learn your machine's settings, needles, and presser feet so you are not guessing.
How do I keep fabric from shifting while I sew?
Pin or clip perpendicular to the seam line and place pins every 2 to 3 inches on slippery or stretchy fabric. Lower the presser foot before starting, hold both thread tails, and let the feed dogs move the fabric instead of pulling it. For tricky fabrics, use a walking foot or a bit of temporary spray adhesive. Sewing slowly with a consistent seam allowance keeps layers aligned and prevents puckers.
What should I do when I make a mistake on a sewing project?
Stop sewing and assess the mistake before ripping. Small puckers or wavy seams often press out, while skipped stitches may mean a dull needle or wrong thread tension. Use a seam ripper carefully and remove thread tails. If the error is in the fit or a visible topstitch, fix it now rather than after finishing. Keeping a practice scrap nearby lets you test settings before stitching the real project.
Finishing projects takes planning, the right tools, and a little patience, and that's where a good supplier helps. Teecraftsmarket curates quality sewing equipment, fabric panels, and beginner-friendly books chosen for real-world use, all printed and stocked with makers in mind. Start with the right machine and a solid guide, then build your skills one small project at a time. Add to cart today and get your next project moving.